

Have you ever wanted to relive the classic retro gaming experience? Are you looking for an adventure that can transport you back in time?
Now, you can create your very own retro gaming station with a CRT TV. In this guide, we’ll show you how to do just that. You’ll be able to play your favorite games from the past and enjoy a classic gaming experience.
Ready for the journey back in time? Let’s get started!
In this guide, we’ll help you understand the basics of retro gaming and how to construct a gaming station using an old-school CRT TV. One of the great things about classic games is that you don’t need a powerful or expensive console to enjoy them. In the past few decades, technologies have progressed rapidly with new and improved graphics, audio, controllers and storage options. But for many gamers, playing with a classic CRT TV is still unbeatable when it comes to enjoying retro video games.
There are lots of ways to enjoy old games on current platforms thanks to emulation software such as MAME (Multiple Arcade Machine Emulator), but nothing compares to playing your favorite titles as they they were meant to be played – on a classic TV set and arcade cabinet. As vintage electronics become more collectible, prices are increasing and availability is decreasing – so if you want a truly authentic experience, it might be time for you to start building your own retro gaming station!
Explanation of Retro Gaming Station
Retro gaming stations provide an immersive retro gaming experience with classic games from decades ago, providing an adjustable gaming station that allows hours of fun. You can set up a unique retro gaming station at home or in the office with a CRT television as the centerpiece for displaying your favorite classic styles of games.
Constructing and setting up a retro gaming station is a process that requires careful planning and preparation, including specific hardware and software components, along with careful setup of the CRT television. To help you get started, this guide will provide detailed instructions on all aspects of constructing and setting up your own retro gaming station with all the necessary components.
From explaining what hardware components are needed to manage various console versions and media formats to configuring schematic settings for optimal display resolutions on your CRT TV – this comprehensive guide will cover all areas of retro gaming setups to give you the best possible live nostalgic experience for your favorite classic games.
Benefits of setting up a Retro Gaming Station
By playing classic console games from a CRT TV, you can experience an authentic retro gaming atmosphere. A properly set up retro gaming station can last you years without any major repairs or hardware upgrades. Additionally, owning a CRT TV gives you access to other technologies like VHS tapes, laser discs and Betamax adapters for analog music and video playback as well.
A retro gaming station with a CRT TV can also be used to provide visual feedback through RGB connections due to their superior picture quality when compared to modern TVs. Furthermore, some consoles may not be compatible with newer TVs but can be made compatible by adding special adapters in the setup. Having a dedicated console setup with a CRT TV also aids in game preservation as it encourages people to keep old consoles relevant and future –proofed as many of the public domain games available are exclusive to these systems.
Finally, setting up your own retrogaming station is an entertaining hobby project that requires basic knowledge in electrical wiring such as connecting the AC plug, power supply and AV cabling which gives players immense satisfaction once they get their system up and running properly.
Importance of CRT TV for Retro Gaming
A cathode ray tube (CRT) television is the best way to experience classic gaming, as they offer the most accurate reproduction of games from the era. The main benefit of CRT TVs is that they offer unparalleled picture clarity and much smoother motion in comparison with modern display technologies. Additionally, looking at a game through a CRT TV is closer to how gamers originally experienced it decades ago. This can recreate the nostalgia factor much better than any other method.
CRTs support several formats such as PAL and NTSC giving you flexible display options for a wide range of gaming hardware such as vintage consoles and arcade boards, including software that was designed for regional formatting requirements from different countries, offering an excellent way to explore classic games from around the world.
Moreover, by plugging in old console controllers into your CRT TV With a direct connection, you can faithfully recreate an experience similar to original console setup designed by its manufacturers which provides an unbeatable level of authenticity for classic gaming fans. However it is important to note that in some cases gamers may need converters or custom parts for playing games on older systems due to varying connectors used with earlier consoles and arcade modules.
Planning the Retro Gaming Station
When you decide to build a Retro gaming station with an old style CRT television, there are a few things you will need to consider and plan for. First, you will need to find the right CRT TV for the project. It is important to know that not all CRT televisions are suitable for retro gaming. Some older televisions may not be able to sync up with newer game consoles and some models may not display the high resolutions that modern games require. You should also consider how much space the TV will take up when it’s sitting on your desk or workstation.
The second consideration is which game console you would like to use with your retro gaming station. There are many different game consoles available, both current and past-generation systems. Each one has its own unique features, libraries of games and accessories which must be taken into account when designing a setup. Additionally, depending on your setup (TV size, amount of RAM available), some systems may run into compatibility issues that could limit what games can be used on the system so make sure to check compatibility first before deciding which console is right for you.
Finally, after selecting a suitable CRT television and game console, it’s time to think about accessories such as cables or adapters required in order to properly connect your components together as well unique controllers that can greatly enhance gameplay or improve aesthetics depending on the type of genre being played — e.g., classic NES controllers for retro genres or specialized fight sticks often used in Fighting Games etc.. There are other miscellaneous components that could also help make your gaming experience even better such as headsets or surge protectors which would protect sensitive components from sudden power outages/unreliable electricity supply etc… It’s important that these extra items are taken into account during planning in order for everything works properly and enjoyed by gamers for many years!
Determine your Budget
Before you approach building your own retro gaming station with a CRT TV, it’s important to have a budget in mind. There are several items you might need to buy for this set up, so it’s essential to know roughly how much money you’re willing to spend. Will you take the economical route or go all out?
Be sure to account for everything that goes into the cost of setting up a CRT TV and retro gaming system. Some of these items include:
- A Retro console
- AV cables
- A compatible controller
- An RF switch box (for older consoles)
- A CRT TV with two-channel audio inputs
- Audio/visual adapter(s) (depending on the types of console being used)
- An adjustable reclining chair or couch with supportive cushions and pillows
It’s also worth noting that some components, such as RF switch boxes, can be acquired for free from local thrift stores or yard sales. Shopping around for these cheaper items or refurbished models could help keep your budget in check.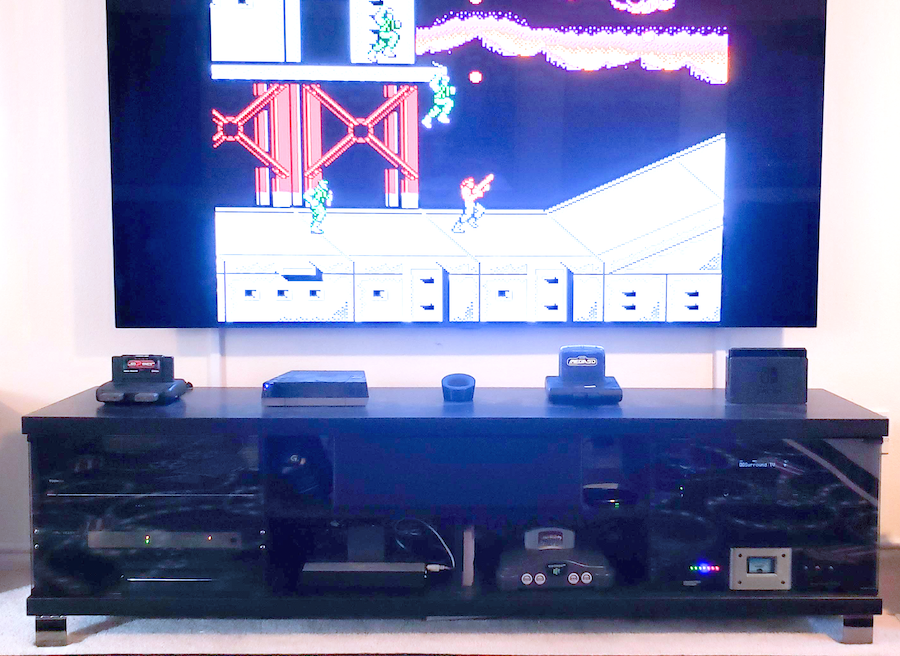
Decide on the Gaming Console
Once you’ve determined the type of CRT TV you’ll need, it’s time to move onto choosing the gaming console for your retro gaming station. Depending on which style of gaming you prefer, there are numerous different consoles you can choose from. If you’re looking for throwback console options then consider either a Nintendo Entertainment System (NES) or a Super Nintendo Entertainment System (SNES). Both of these consoles are hardy and will withstand the test of time especially if they are cared for properly.
In addition to the classic Nintendo systems, other old-school console recommendations include: Atari game systems, Sega game systems, N64 console system, TurboGrafx-16 (PC Engine), Sony Playstation 1 & 2 and Dreamcast.
All of these systems offer fantastic graphics and plenty of interactive gameplay to keep both adults and children entertained for hours. If multiple family members or friends will be using your retro gaming station then it’s best to get at least two controllers so that two people can play at the same time.
Select CRT TV
When selecting a CRT TV for retro gaming and media, there are a few things to consider. If you’re using a common console such as an Xbox 360 or PlayStation 3, you’ll want to get a CRT model that is compatible with the resolution and refresh rate (typically 480i/480p@60Hz or 720p@60Hz) of your console. If you already own a CRT TV, be sure to check it is capable before making any purchases.
For console gamers, CRT TVs that accept composite video inputs from several popular consoles (including the NES-001, N64, PLAYSTATION 1/2/3, Wii, and Sega Genesis) are available for just about any budget. There are even models available with HDMI inputs for those looking for sharper image quality with their retro gaming setup.
CRT TVs can also be used to connect modern game consoles such as the PS4 and Xbox One S/X via an HDMI-to-VGA converter cable or adapter. Just make sure the model you purchase is compatible with your console of choice before heading to checkout!
Consider additional accessories
As you move towards completing your retro gaming setup, you may want to consider adding a few additional accessories. Some accessories to consider include the following:
-Console Monitor for HDMI Connectivity: A console monitor that allows for HDMI connectivity will cut down on the clutter and give your game station a more modern look.
-Controller Adaptors: Controller adaptors will allow you to use most modern controllers with retro gaming systems. Many console games require specialized controllers, so adaptors might be the best way to go if you plan on keeping those old games alive.
-Retro Gaming PC: If your gaming collection includes both old and new titles, a dedicated computer might be the best option for playing them both. It’s important to remember that achieving true native resolution of classic consoles on PCs can take significant hardware and software modifications as well as considerable technical expertise, so this is not recommended for casual gamers.
-HDMI or VGA Converters: HDMI or VGA converters are especially important if you’re connecting your CRT to a PC since most newer PCs lack the necessary connectors for CRTs.
Setting up the Retro Gaming Station
Now that you have your retro gaming setup complete, it’s time to get down to the process of setting up your station for the ultimate retro gaming experience. Depending on the type of setup you have, this process could involve anything from circuit connections to customized solutions. In this section, we’ll take a look at some of the basics that you need to consider when setting up your Retro Gaming Station.
To begin, it is important to make sure that all of your system components are connected securely and properly wired before starting your actual setup process. Depending on the type of TV or monitor you are using, this process can vary slightly. However, most will require HDMI or DVI connections for both input and output signals. You may also need to connect audio cables as well as power cords if available in order to properly provide audio and power for your system.
Once you have all the necessary connections in place, switch on both your CRT TV and game console systems. Then adjust all settings within both systems in order ensure they are compatible with one another so that images are displaying correctly onscreen. This includes configuring display resolution levels within each console and ensuring any software updates necessary are available and functioning properly before completing the setup process completely.
Once all settings have been configured correctly between systems, you’re now ready to start actually playing! Before doing so however, it is important to familiarize yourself with any existing controls such as game controllers or interface keyboards that come with each system in order to ensure they are functioning correctly and appropriately customizing them as needed according today’s gaming expectations overall on modern eras. With everything set up accordingly – jump into the digital world of classic gaming enjoyment!
Preparing the CRT TV
Prior to setting up your gaming station, you need to make sure that the CRT TV is in proper working condition. CRT TVs tend to be quite resilient and long-lasting, but with any electronic device of this age, it is important to make sure it is functioning properly before using it.
Begin by switching the TV on and viewing a test pattern or some station ident on an analog channel. Check for any distortions or artifacts that may indicate an instability. If this is all good, then leave the television on for approximately 10 minutes to warm up as this can make a big difference in image clarity.
If you have access to a calibration DVD disc or even just something like a DVD of The Matrix, you can run through various test patterns while adjusting color balance, tint and sharpness settings until you are happy with the result – just don’t forget to write down the optimal settings if you intend to keep them!
Then simply plug in your console of choice and enjoy!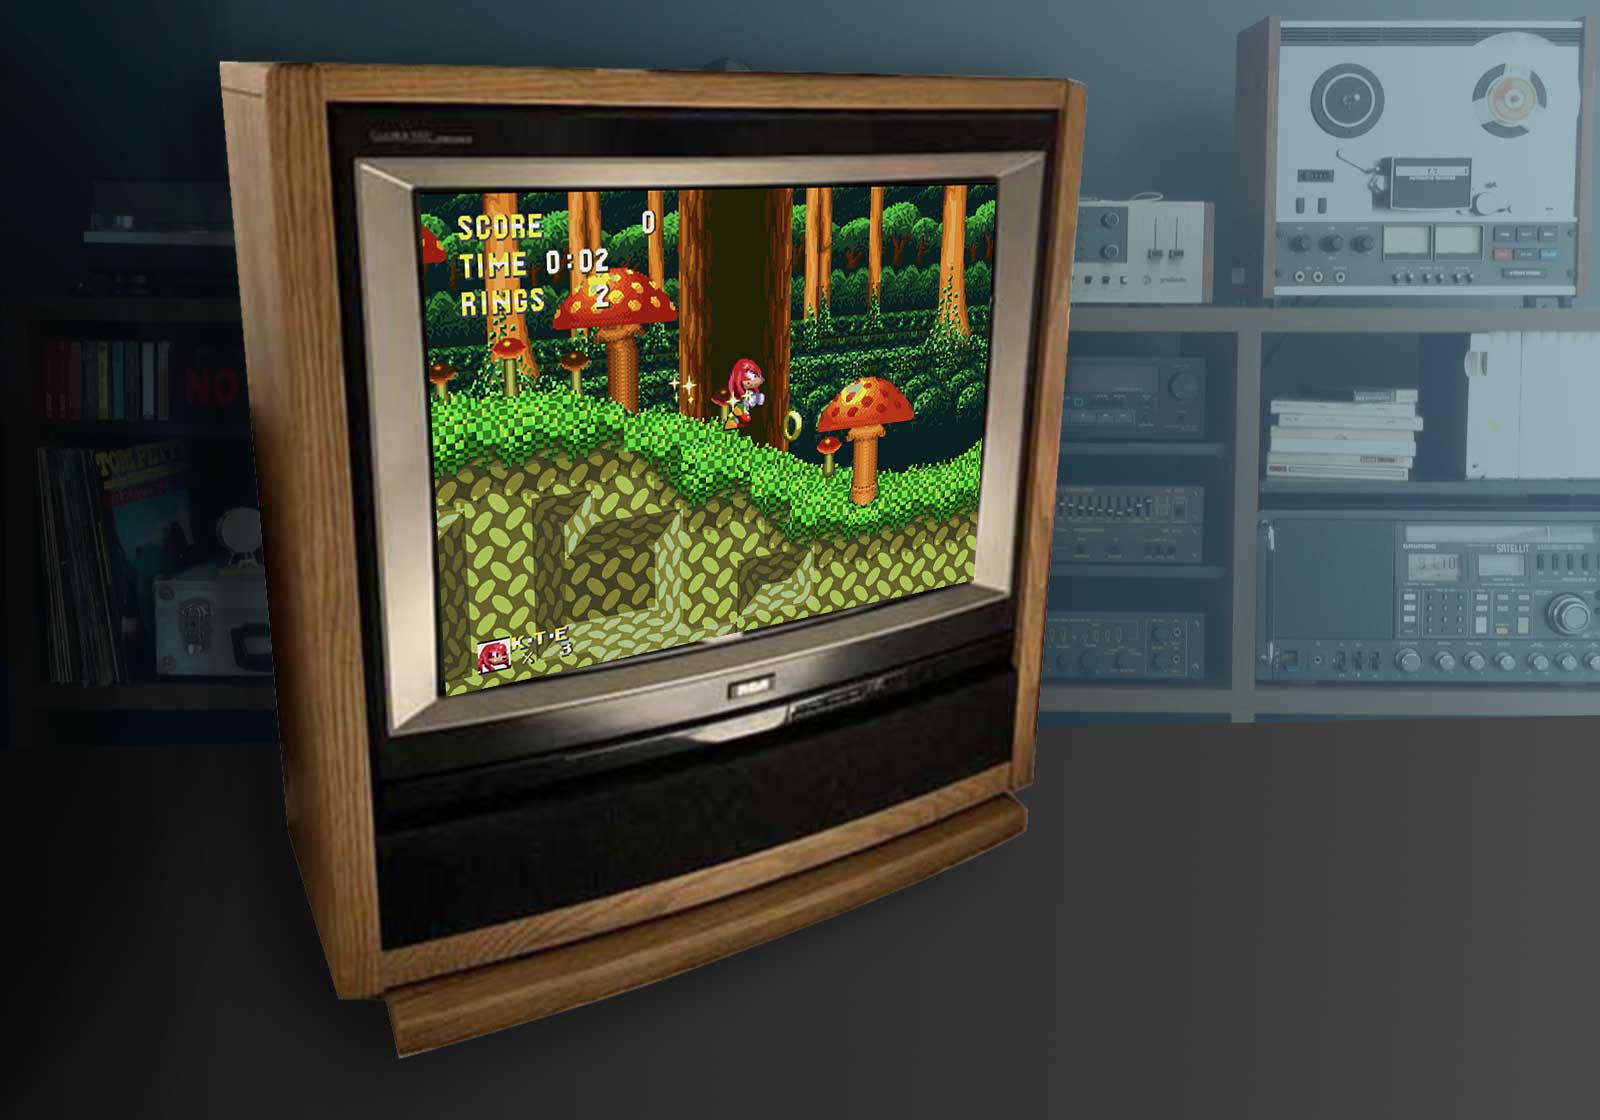
Cleaning and maintenance
Cleaning and maintaining your retro gaming station requires regular attention to keep it running optimally. To properly maintain your equipment and ensure a long-lasting gaming experience, you’ll need to clean the components inside your cabinet and perform routine inspections for any potential issues.
Start by cleaning the inside of your cabinet with a can of compressed air to rid it of accumulated dust and debris. Next, inspect all electrical connections for any loose or corroded components that may need to be replaced. Invest in an anti-static wrist guard if you’re doing this yourself and make sure to power down the cabinet before starting.
Protect vital components from harm by securely wrapping them in anti-static material before cleaning them with specialized solutions designed for internal PC components such as CPUs, motherboards, graphics cards, and RAM sticks. Lubricate all fan blades with specialized oil after cleaning each part in order to keep them running smoothly while preventing overheating or performance issues caused by improper airflow distribution throughout the system.
Finally, invest in a thermal imaging gun or temperature sensitive film sticker to monitor your system’s internal temperature during intensive gaming sessions so that you can take preventive measures in case temperatures become too high. Following proper procedures when cleaning and maintaining your retro gaming station will help guarantee smoother operation while preserving existing parts from premature breakdowns due to dust build-up or mistakenly mishandling delicate components during maintenance checks over time.
Testing and troubleshooting
When you’ve got all the components connected, it’s a good idea to test and make sure everything is working properly. Depending on the age and condition of your components, there could be a few bumps along the way. Start by turning on the TV first, then the console. If the console turns on but there’s no picture visible, make sure that all cables are properly plugged in and that you haven’t bumped any cables during setup.
If you hear audio but don’t see any video, try to reset the video settings for both devices. Most gaming consoles have an option in their settings menu that allows you to reset all video settings back to default — take advantage of this if things aren’t going your way. For CRT TVs, try changing between various input jacks or resetting the color settings using buttons located on the back or side of the TV set itself.
You may also need to adjust contrast and brightness levels depending on where your gaming station is located — a dark room will require higher contrast than a brightly lit one. For CRT TVs, you’ll need to manually adjust these levels using circular toggle wheels found either directly behind or in front of your television. Spend some time getting familiar with these adjustments so you can optimise your gaming experience for any environment!
conclusion
Thanks for taking the time to read this complete guide on how to build and set up your own retro gaming station with a CRT TV. Although it may take some time and effort, the end result is definitely worth it. With a little bit of manpower and the right tools, you will have an awesome gaming system that will allow you to enjoy classic games in their native resolution.
We hope this guide has helped you in achieving your retro gaming dreams! Happy Gaming!
FAQ’s
Are CRT TVs better for retro gaming?
Yes, CRT TVs are generally considered better for retro gaming due to their ability to display the lower resolution graphics of older consoles and their lack of input lag. Additionally, some players prefer the nostalgic feel of playing on an older television.
How do you set up a retro gaming room?
To set up a retro gaming room, you should first consider the space and furniture you will need. You will need a comfortable chair or couch, a television or monitor that supports retro consoles, a place to store your consoles and games, and any additional accessories such as controllers or cables. You may also want to consider decorating your room with posters or other memorabilia from your favorite retro games.
How do I connect my retro console to my TV?
The method of connecting your retro console to your TV will depend on the specific console and TV models you have. In general, you will need to use either RCA or RF cables to connect the video and audio output from the console to the corresponding inputs on the TV. Some consoles may also support other types of connections such as S-video or component cables.
Can you play modern games on CRT?
While it is technically possible to play modern games on a CRT TV, it is not recommended as the resolution and picture quality will not be as good as on a modern display. Additionally, many modern consoles do not support the types of connections that are compatible with CRT TVs.
Do CRT TVs have no lag?
CRT TVs generally have less input lag than modern LCD and LED TVs, although there may still be some lag depending on the specific TV model and the type of connection used to connect the console.
Can old CRT TVs explode?
While it is possible for CRT TVs to explode due to a malfunction, this is extremely rare and is not a common occurrence. However, it is important to dispose of old CRT TVs properly as they contain hazardous materials such as lead and mercury.
Which is faster CRT or LCD?
CRT displays generally have faster response times than LCD displays, although this is less of a concern for retro gaming as the games themselves were designed to be played on CRT displays.
How many Hz is a CRT monitor?
The refresh rate of a CRT monitor depends on the specific model, but most CRT monitors have a refresh rate of 60 Hz or higher.
Do CRT TVs use a lot of electricity?
CRT TVs generally use more electricity than modern LCD and LED TVs due to their use of a cathode ray tube to produce the image. However, the amount of electricity used will depend on the specific model and the size of the TV.
Why are CRT TVs so heavy?
CRT TVs are heavy due to the large cathode ray tube that is used to produce the image. Additionally, the glass screen on the front of the TV adds to the weight.
See more-
- Best Gaming Laptops Under 700 2023
- Best claw grip gaming mouse 2023
- Best gaming motherboard for i9 10900k 2023
- Best z270 gaming motherboard 2023
- Best gaming motherboard for i9 2023